GAAS Mirror for TX2 (beta)
What is GAAS Mirror for TX2 beta?
GAAS Mirror for TX2 beta provides a one-step installation tool to set up your TX2 with the GAAS framework. The mirror includes installation of Ubuntu 16.04, ROS, other GAAS dependencies, GAAS git repo, compiled SLAM module, MYNTAI SDK.
Download Now
Give us a Star 🌟 on Github if you find this tutorial useful.
Should you have any questions or suggestions to the tutorials or GAAS itself, let us know at our facebook group at: https://www.facebook.com/groups/300340454189266/?ref=bookmarks
How to use GAAS Mirror for TX2 beta?
Step Zero: Verify File Integrity
MD5: 24151c13609338ffb33786a0366242a9
SHA1: 376a0507e99fe1edd91fe3a9e01f55d00db2609e
Step One: Install Nvidia Jetpack
Download NVIDIA Jetpack from the NVIDIA website. You may need to register for an account. Note that GAAS is running on Ubuntu 16.04 and thus the highest version we can use for JetPack is NVIDIA Jetpack3.3.
Download and run JetPack 3.3, as shown below:
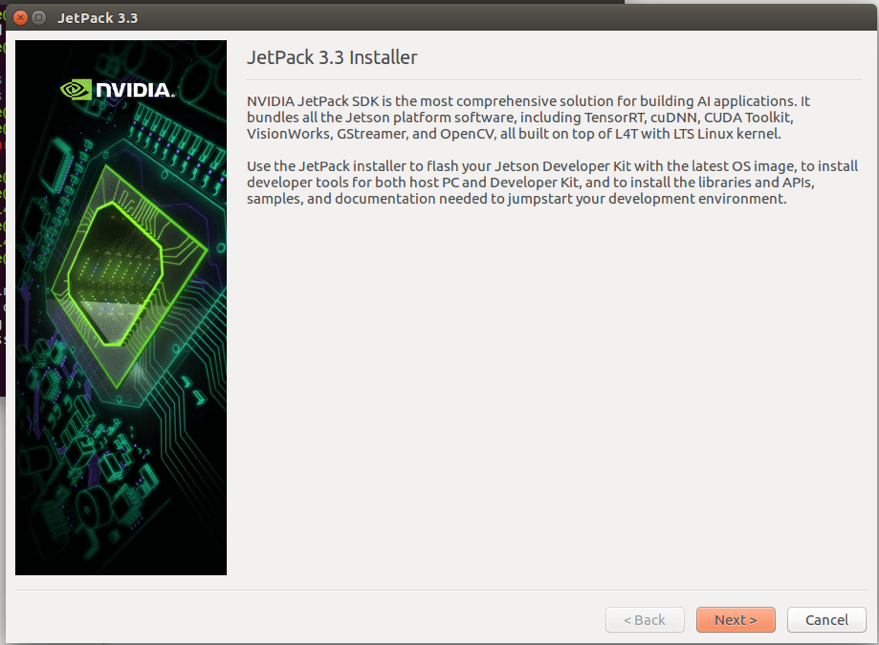
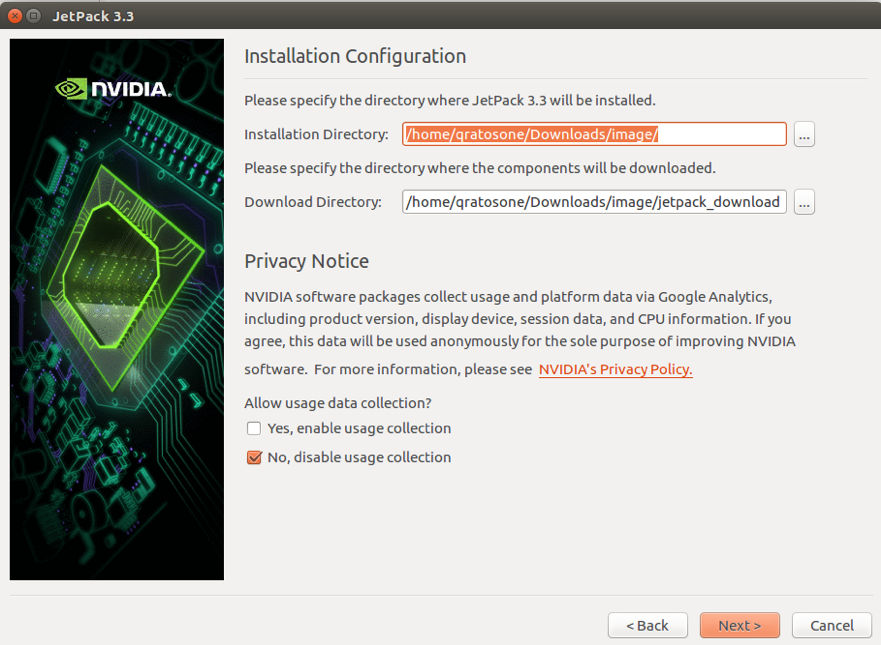
Choose installation directory:
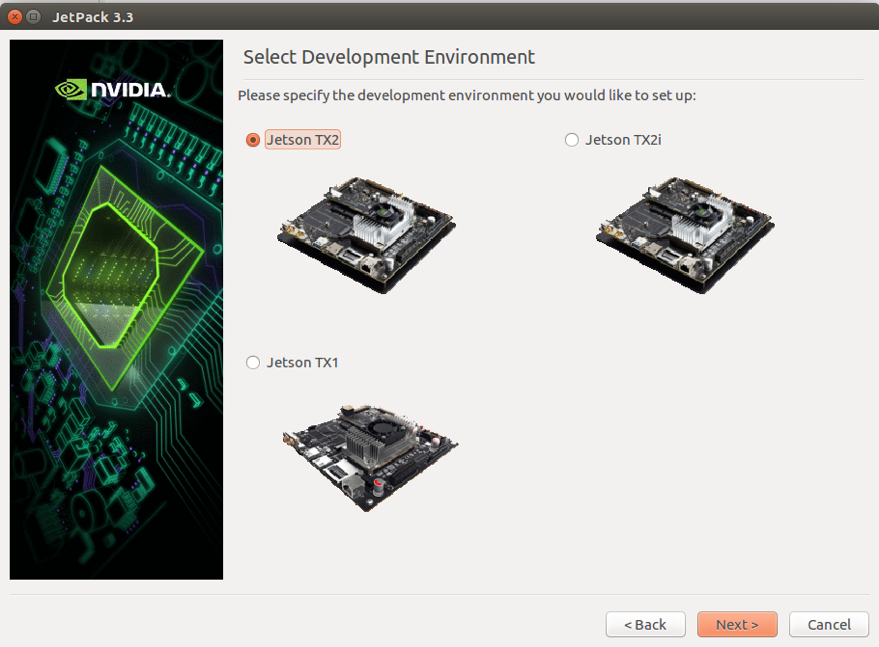
Choose Jetson TX2:
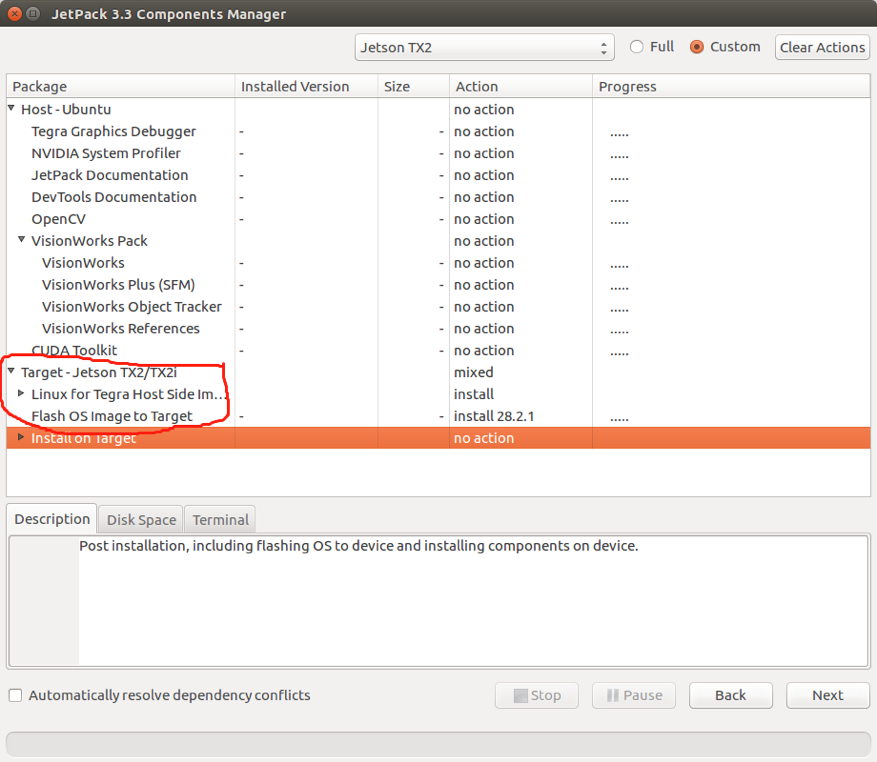
Choose the desired package. Please note only install the Linux for TX2 while leaving the other options as "no action":
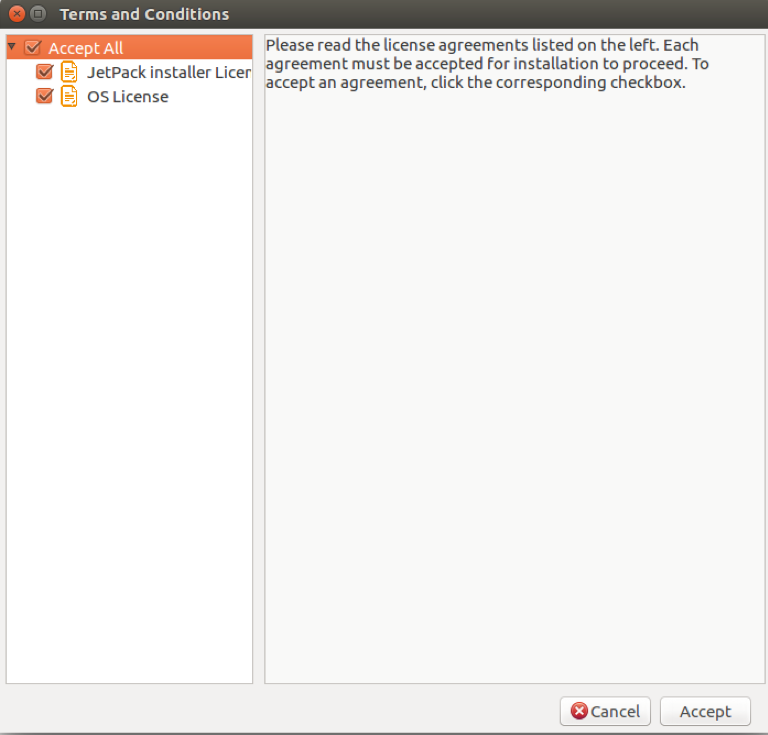
Accept all Terms and Conditions and begin downloading:
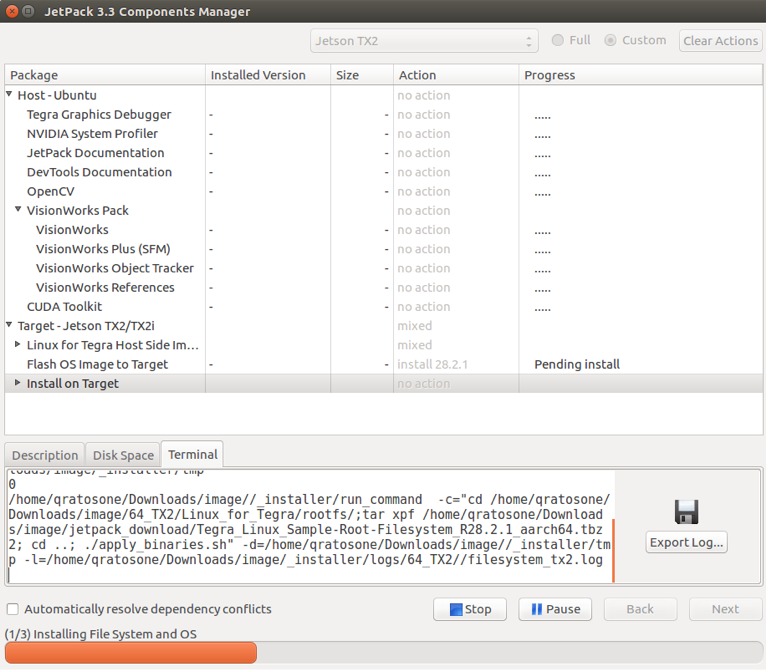
Wait for the download and installation to finish:
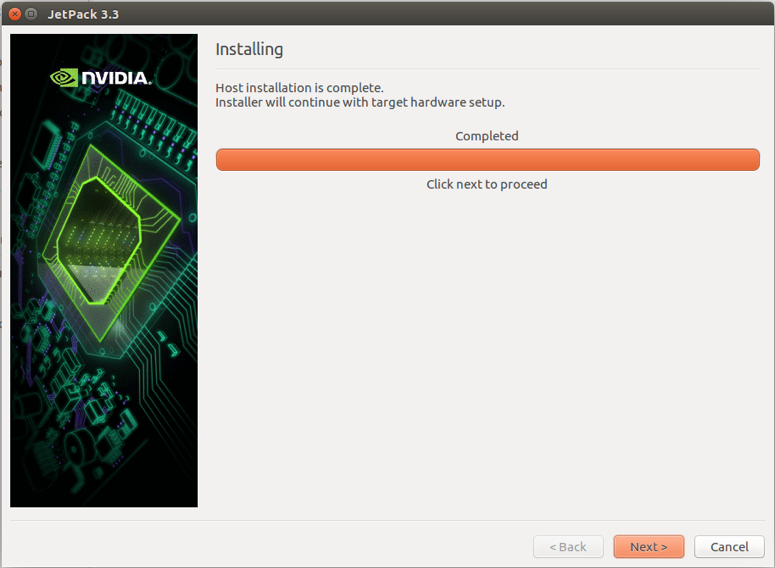
Click Next once the installation is complete:
You should see a window popping up, as shown below:
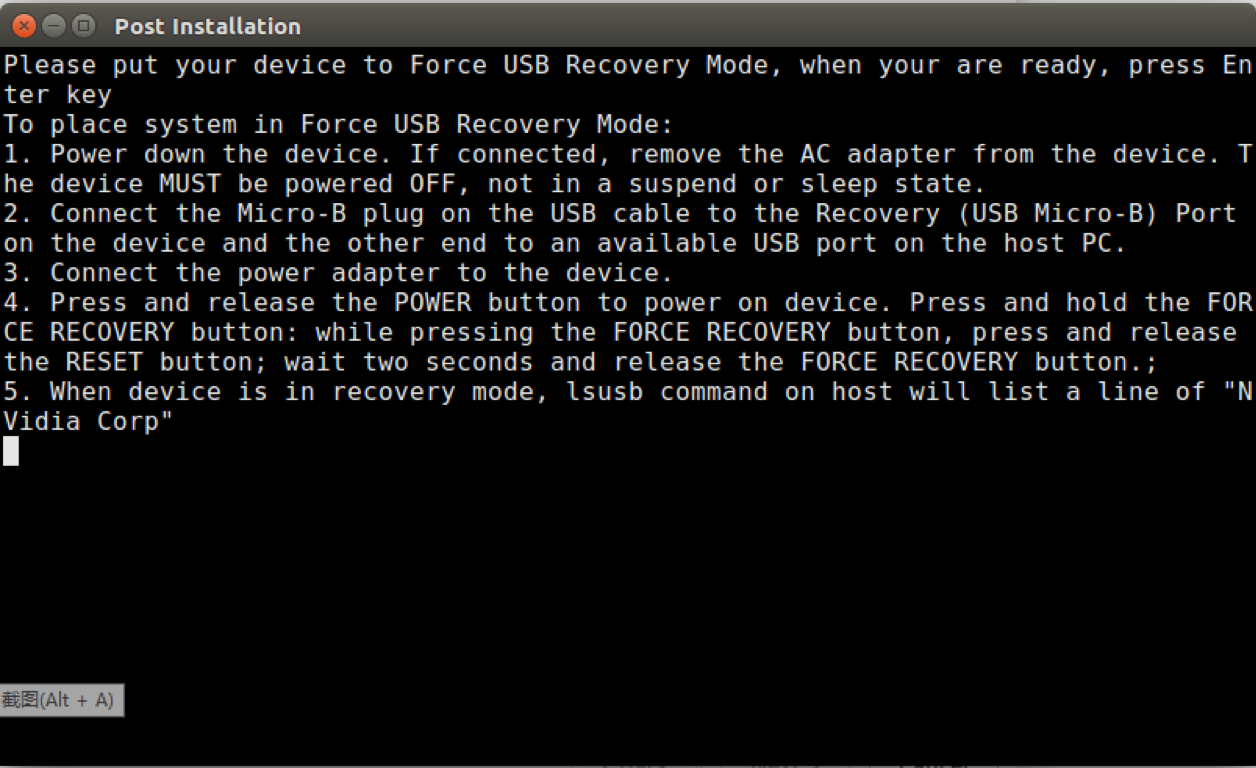
If you would like to start with a clean system, follow the instruction on this Window. We will be using the GAAS Mirror to recover the TX2, so we will go ahead and close this window. Note not to select "Remove Downloaded Files" option.
Step Two: Enter the Recovery Mode
Unplug the TX2 power cord (Do not skip this step)
Plug the TX2 power cord and press on the recovery button right away for 3 seconds
Press the reset button once
Connect the TX2 to a computer. Note that if you are using a virtual environment such as VMWare, you will need to choose to connect your hardware to the virtual machine.
Once the TX2 is connected to a computer, enter the following command:
Go to the bootloader folder under JetPack Installation Directory to delete or backup the original system.img. We are going to back up system.img for this tutorial.
Then move tx2gaas mirror file (now it's named system.img) to the bootloader folder: mv Linux_for_tegra/system.img system.img
Go back to the directory JetPack Installation Directory and start to recover the TX2:
The process takes 20-40 minutes. Once the recovery is done, restart the TX2 and start using GAAS on TX2.
What to do next?
Now that you have the GAAS on your TX2 framework, you may want to try out some of our previous tutorials on a real drones:
E03: Using SLAM In GPS Denied Environment For Position Estimation
E04: Depth Estimation, Octomap and Path Planning
Last updated
Was this helpful?